
A repaired wall should not announce itself every time sunlight hits it. Yet many patches look acceptable until paint goes on, when a flat spot, raised edge, or mismatched texture becomes obvious. Professional drywall repair and texturing is about more than filling a hole. It is the careful work of restoring a wall or ceiling so the repair blends with the surrounding surface and supports a clean paint finish.
For homeowners, sellers, and small-business owners, that difference matters. A wall with cracks, dents, water stains, or old anchor holes can make an otherwise well-maintained room feel unfinished. Addressing the damage correctly protects the appearance of the space now and helps prevent a rushed repaint from becoming a second repair project later.
Why a Simple Patch Can Be Hard to Hide
Drywall is forgiving in many ways, but it is also revealing. A wall can have a smooth finish, orange peel, knockdown, skip trowel, or another texture that catches light differently across the room. When a repaired section does not match, the difference may be more noticeable than the original damage.
The biggest challenge is usually not applying joint compound. It is building the repair in thin, controlled layers, feathering each layer beyond the patch, sanding without creating a dip, and recreating the texture at the right scale. Paint can unify color, but it will not hide uneven wall planes or a texture pattern that does not belong.
Ceilings can be even less forgiving. Light from windows and fixtures often travels across the surface, exposing seams and patch edges. This is especially true on smooth ceilings, where even a small variation can cast a shadow.
What Drywall Repair and Texturing Should Address
A proper recommendation begins with the cause and extent of the damage. A nail pop in a stable wall is a different job from a crack that keeps returning, and a small plumbing leak requires a different approach than an accidental door-handle hole. Covering visible damage without checking what caused it can lead to the same problem returning through fresh paint.
Common repair needs include small holes from picture hangers or wall anchors, dents and gouges, popped fasteners, cracked tape joints, damaged corners, and larger openings left by electrical or plumbing work. Water-damaged drywall may need to be removed and replaced rather than skimmed over, particularly if it has softened, stained heavily, or developed mold concerns. The moisture source should be corrected before new material is installed.
For larger repairs, the damaged area is cut back to sound drywall. New backing and a fitted patch provide a stable base, followed by tape, multiple coats of compound, sanding, priming, and texture matching. The process takes time because each coat needs appropriate drying time. Trying to complete every stage too quickly is one of the most common reasons patches crack, shrink, or show through later.
Matching the Existing Wall Texture
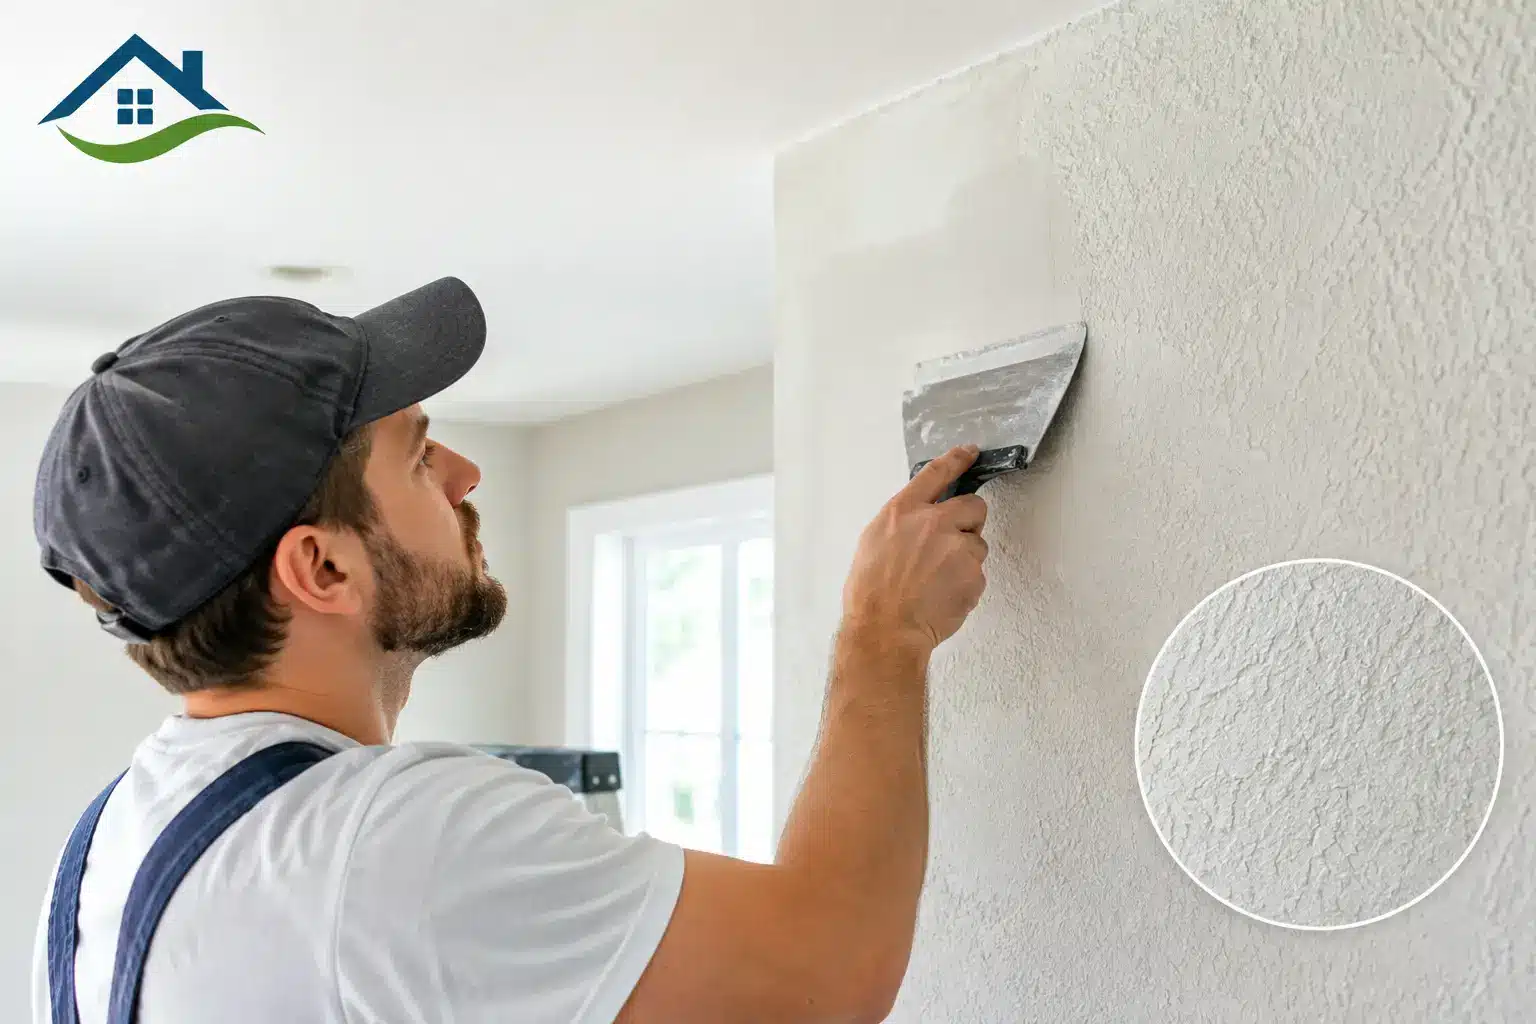
Texture matching is where experience pays off. There is no single setting or spray technique that works for every room. The material consistency, spray pattern, hand pressure, knockdown timing, and existing paint build all affect the final appearance.
Smooth Walls Need More Prep Than Most People Expect
A smooth wall is not necessarily an easy wall. It requires broad feathering so the transition disappears gradually into the existing surface. On a smooth finish, a repair may extend well beyond the original hole because the goal is to remove any visible edge, not simply fill the damaged area.
Once the compound is dry, the surface is sanded and inspected from several angles. Primer is then applied over the repaired area. Primer helps seal the compound so it does not absorb finish paint differently and create a dull, flashing patch.
Orange Peel and Knockdown Require a Controlled Test
Orange peel has a fine, stippled pattern, while knockdown begins with a sprayed texture that is lightly flattened after it sets for a short period. Both can vary from room to room depending on the original installer, age of the finish, and past repainting.
A professional often tests the texture pattern before applying it to the repair. The goal is to match the surrounding wall, not to create a textbook version of orange peel or knockdown. After the texture dries, it may need light blending at the perimeter before priming and painting.
Older Homes Can Have Less Predictable Finishes
In established Denver-area homes, walls may carry several generations of repairs and repainting. A texture may be heavier in one area, lighter near an addition, or partly concealed by thick paint. Matching that history takes observation and adjustment. It also may make full-wall painting the better value, since spot paint over an older finish can remain visible even when the drywall work is excellent.
Repair First, Then Choose the Right Paint Scope
Painting only the repaired section can work when the existing paint is recent, the exact product and sheen are available, and the wall has not faded or been repeatedly cleaned. In many real-world situations, however, the more reliable option is to paint the full wall from corner to corner.
Paint color changes over time from sunlight, cleaning, cooking residue, and normal wear. Sheen also matters. Higher-sheen paints reflect more light and make small surface differences easier to see. If the repair is in a high-traffic hallway, entry, kitchen, or business space, a full-wall repaint often provides the most consistent result.
This does not mean every repair requires painting an entire room. The right scope depends on the location of the damage, wall condition, paint age, and budget. A clear estimate should explain what is included, where a blend is likely to work, and where broader painting is recommended for the best appearance.
When a Repair Calls for More Investigation
Some wall damage is cosmetic. Other damage is a signal that should not be ignored. Repeated cracks near doors or windows, long cracks across ceilings, soft drywall, peeling paint around a stain, or bubbling tape can point to movement or moisture.
Before repairing these areas, identify whether the underlying condition is active. A plumbing leak, roof issue, gutter overflow, poor exterior caulking, or ongoing settling should be addressed first. Repairing drywall before the source is resolved can waste time and money.
For a property being prepared for sale, this step is particularly useful. Buyers notice visible stains, cracks, and unfinished patches quickly. A targeted repair and repaint can improve presentation, but it should be honest work that corrects the issue rather than disguising it temporarily.
A Cleaner, More Predictable Repair Process
The best drywall projects are organized before the first patch is cut. During a walkthrough, the contractor should identify damaged areas, determine whether texture matching is needed, discuss paint options, and outline timing. Furniture protection, dust control, and cleanup should also be part of the plan, especially for occupied homes and working commercial spaces.
At Majestic Painting, the goal is to make these decisions straightforward: review the condition, provide an itemized recommendation, coordinate the repair with any painting work, and complete final touchups before the project is closed out. Combining repair and painting under one team also helps avoid the common handoff problem where a patch is finished but the final wall color or sheen is left unresolved.
Homeowners can help the process by pointing out prior leaks, recurring cracks, previous repairs, and any paint they have saved. If you know the wall color, product line, and sheen, share that information. If you do not, a practical plan can still be developed after evaluating the room and the surrounding finishes.
Know When a Small Repair Is No Longer Small
A few nail holes and a single dent are usually straightforward. Widespread cracking, multiple water-damaged areas, failing tape joints, or a ceiling with several visible patches may call for a larger approach. In those cases, repairing individual spots can become less cost-effective than resurfacing a larger area or replacing compromised drywall sections.
The right answer is not always the cheapest immediate fix. It is the repair scope that gives the wall a stable surface, a consistent texture, and a finish that will hold up to normal use. When you are ready to address damaged walls or ceilings, start with a clear assessment of what caused the damage and what it will take for the repair to truly disappear.