
A fresh exterior paint job can look excellent on day one and still fail far sooner than expected if the surface underneath was not properly cleaned. In Colorado, windblown dust, pollen, traffic film, chalking paint, mildew, and weather exposure can all create a barrier between your siding and the new coating. That is why power washing before painting is more than a cosmetic step. It is a key part of preparing a surface that can hold paint and protect your property.
For homeowners planning an exterior update, preparation often determines whether the project delivers lasting value. A professional painter should assess the existing finish, identify repairs, clean the surface correctly, allow proper drying time, and then recommend the right primer and paint system. Skipping ahead to color may feel faster, but it can create peeling, uneven sheen, and avoidable repainting costs.
What Power Washing Before Painting Removes
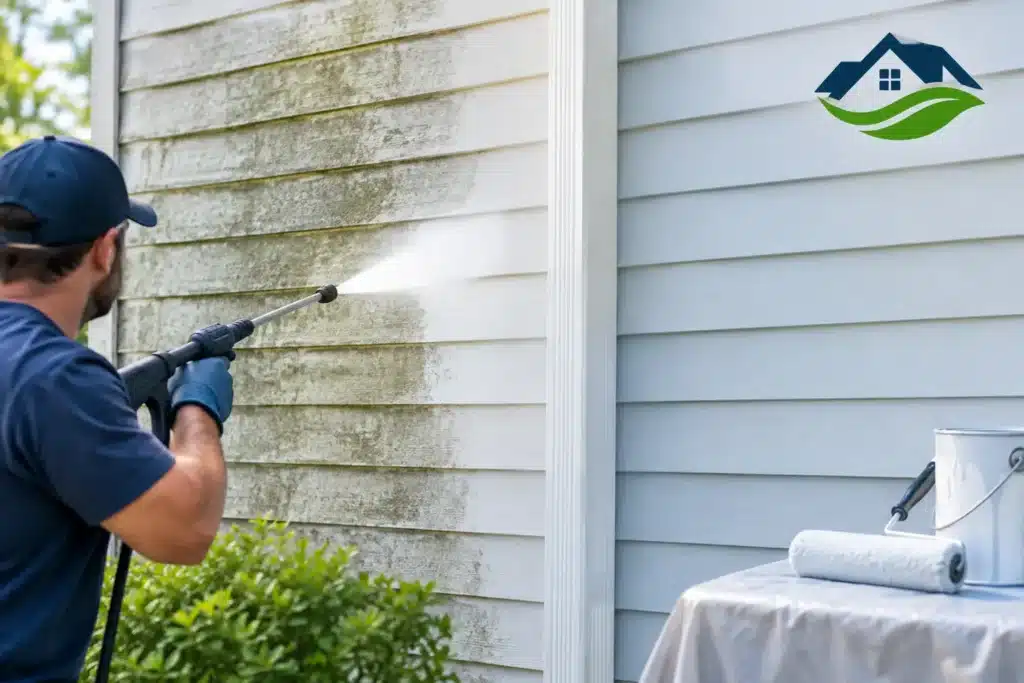
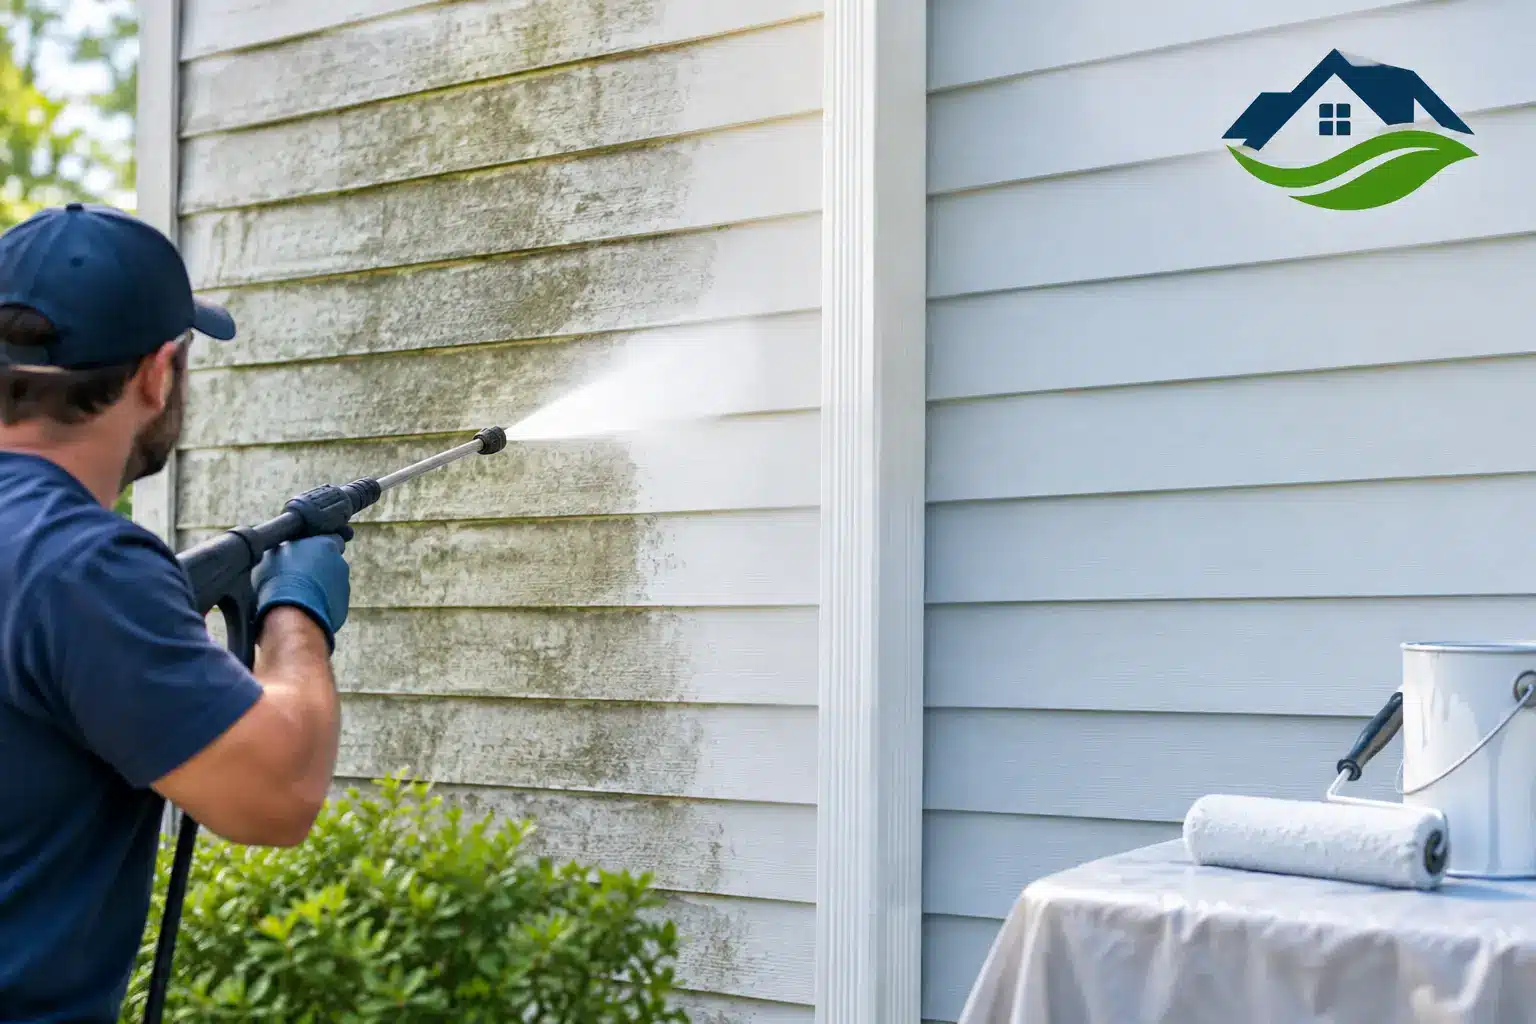
Exterior surfaces collect more than visible dirt. Even a home that looks reasonably clean can have a thin layer of contaminants that interferes with adhesion. Power washing removes loose paint, dust, cobwebs, pollen, mud splash, insect residue, and pollution film from siding, trim, doors, masonry, fences, and other paintable exterior areas.
It is especially useful when an older painted surface has begun to chalk. Chalking occurs when weather breaks down the paint binder, leaving a powdery residue on the surface. If new paint is applied over that residue, it may adhere to the chalk instead of the siding or trim itself. The result can be premature fading, blistering, or peeling.
Mildew needs attention as well. It often appears as dark spotting in shaded areas, near gutters, behind landscaping, or on north-facing walls. A pressure washer alone may not fully address organic growth. Depending on the surface and the extent of staining, cleaning solutions and proper rinsing may be needed before painting can begin.
Why Clean Surfaces Hold Paint Better
Paint is designed to bond to a sound, dry, clean substrate. It cannot make a dirty, failing surface stable. When dust or chalk sits between the coating and the wall, the paint film loses the solid foundation it needs to expand and contract with seasonal temperature changes.
Denver-area homes deal with strong sun, snow, freezing temperatures, spring moisture, and sudden weather shifts. Those conditions put exterior coatings to work. Good surface preparation helps the new finish resist moisture intrusion and reduces the chance that vulnerable areas around trim, joints, and exposed wood will deteriorate unnoticed.
Cleaning also makes the inspection process more accurate. Once dirt and loose debris are removed, a painter can see cracked caulk, damaged siding, rotted trim, popped fasteners, and areas where the old coating has failed. Repairing those issues before painting creates a cleaner finished appearance and helps prevent a new paint job from masking a problem that continues to grow.
Power Washing Is Not the Same as Blasting Every Surface
The goal is controlled cleaning, not maximum pressure. Too much pressure can gouge wood, force water behind siding, damage window seals, loosen mortar, scar soft materials, or strip sound paint that did not need removal. This is one reason exterior washing is best handled with an approach matched to the material and condition of the property.
Vinyl siding, painted wood, fiber cement, brick, stucco, concrete, and composite trim do not all respond the same way. A professional may use lower pressure, a wider spray pattern, specialized cleaners, or soft-washing methods where appropriate. Delicate areas around windows, electrical fixtures, soffits, landscaping, and aging caulk require particular care.
Power washing also does not replace surface repairs. If trim is soft or rotted, washing will not make it paint-ready. If paint is severely peeling, additional scraping, sanding, spot priming, or replacement may be needed. A clear, itemized estimate should separate cleaning, repairs, priming, and painting so homeowners understand what the project includes.
When Power Washing May Need Extra Steps
A house with heavy mildew, oxidation, old stain, or extensive peeling usually needs more than a standard wash. The right process may include mildew treatment, hand scraping, sanding feathered edges, caulking gaps, wood repair, and spot priming bare areas. On masonry, efflorescence or loose material may call for a different preparation plan.
There are also situations where pressure washing is not the first choice. Fragile older siding, deteriorated wood, and certain historic details may be safer to clean by hand or with low-pressure methods. The best preparation plan depends on the surface, the previous coating, the weather exposure, and the condition found during the walkthrough.
How Long to Wait After Washing Before Painting
A washed exterior must dry thoroughly before primer or paint is applied. The exact wait time depends on the material, weather, shade, humidity, and how much water the surface absorbed. A dry, sunny day may allow some surfaces to be ready relatively quickly, while wood, stucco, shaded walls, and areas near landscaping may need longer.
Painting too soon can trap moisture beneath the coating. That moisture can cause poor adhesion, bubbling, peeling, or wood damage over time. Rather than relying on a fixed number of hours, a careful crew checks that the substrate is dry enough for the coating system being used.
Scheduling matters here. Exterior projects need a plan that accounts for weather, dry time, repairs, and the sequence of primer and finish coats. Homeowners should be wary of any process that treats washing and painting as one rushed step without considering whether the surfaces are truly ready.
A Better Exterior Painting Process
The strongest exterior results come from treating preparation as part of the paint job, not an add-on. After an initial consultation, the work should begin with an evaluation of the siding, trim, gutters, caulk lines, and existing finish. That makes it easier to prioritize repairs and choose a paint system suited to the home.
From there, the typical process includes washing appropriate surfaces, allowing them to dry, scraping loose paint, sanding rough transitions, repairing damaged materials, caulking gaps, and priming bare or problem areas. Only then is the finish paint applied. Each step supports the next one.
This coordinated approach is particularly helpful for homeowners who have more than one exterior concern. A painting project may reveal a need for trim replacement, siding repair, gutter work, or screen repair. Addressing related maintenance in an organized scope can reduce handoffs between contractors and leave the property looking more complete when the work is finished.
Questions to Ask Before an Exterior Paint Project
Before selecting colors or approving a proposal, ask how the contractor will clean the home, what repairs are included, whether primer is needed, and how drying time will be handled. It is also reasonable to ask how landscaping, windows, walkways, and adjacent surfaces will be protected during washing and painting.
The answers should be specific to your property rather than a one-size-fits-all promise. A newer fiber-cement home with light dust buildup needs a different plan than a 30-year-old wood-sided home with peeling paint and shaded mildew growth. Clear recommendations help you make budget decisions without guessing which preparation steps can safely be deferred.
A good exterior paint job begins well before the first finish coat. Power washing before painting gives the crew a clean surface to evaluate, repair, and coat properly – helping your investment look better now and stand up better through the seasons ahead. If you are planning exterior work, a detailed walkthrough and free quote can turn that preparation into a clear, manageable plan.