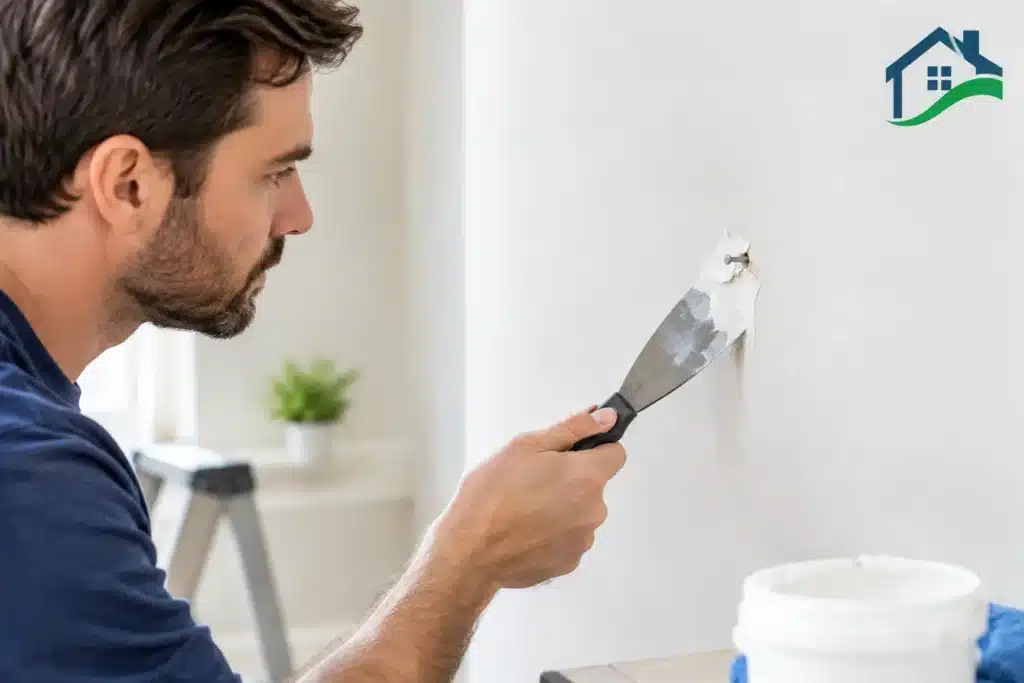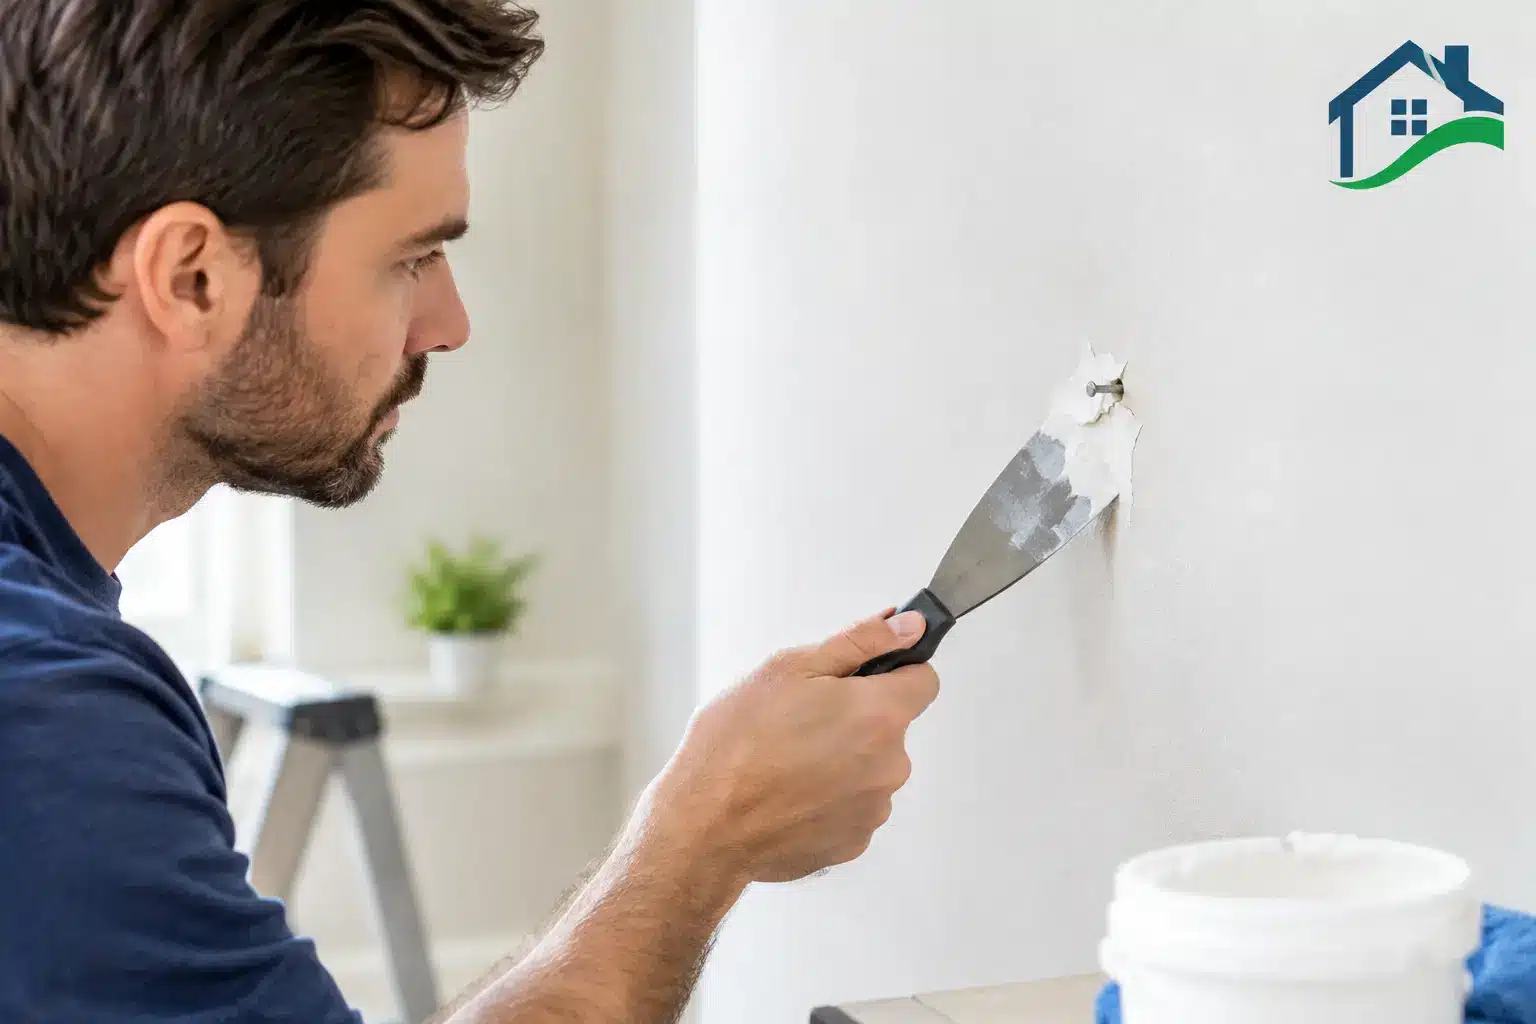

A small round bump or cracked spot in an otherwise smooth wall can make a freshly painted room look unfinished. Knowing how to fix nail pops helps you get a repair that stays flat – not one that reappears after the next Colorado temperature swing.
A nail pop is usually not a paint problem. It happens when the fastener holding drywall to a wall stud or ceiling joist shifts forward and pushes against the joint compound. The repair needs to secure the drywall first, then rebuild the surface. Simply covering the bump with spackle may look fine for a few weeks, but it does not address the movement behind it.
What Causes Nail Pops in Drywall?
Most nail pops appear as a small circular raised area, often with a hairline crack around it. Some are visible only after sunlight hits the wall at an angle. Others become obvious after a room is repainted.
Drywall and framing move at different rates as humidity and temperature change. In the Denver metro area, dry indoor air, seasonal expansion and contraction, and normal settling can expose weak fasteners over time. A nail can slowly work loose, particularly if the drywall was not held tightly against the framing when it was originally installed.
Nail pops can also happen when lumber shrinks, a framing member twists slightly, or drywall fasteners were spaced too far apart. New construction often develops a few isolated pops during its first years as materials dry and settle. An older home can develop them after significant settling, a roof leak, plumbing moisture, or repeated vibration near a stairway or garage wall.
One or two isolated pops are usually a straightforward drywall repair. A growing cluster of cracks, popped fasteners, or gaps where walls meet ceilings deserves a closer look before cosmetic work begins.
How to Fix Nail Pops the Right Way
The key is to add new holding power beside the failed nail or screw. For a typical wall repair, you will need a drill or screwdriver, coarse-thread drywall screws for wood studs, a drywall knife, joint compound, sandpaper, primer, and matching paint. Use screws long enough to pass through the drywall and securely enter the framing – 1 1/4-inch screws are commonly suitable for 1/2-inch drywall over wood framing.
Find the Stud and Secure the Drywall
Start by confirming that the pop is over a stud or joist. The fastener itself is a good clue, but a stud finder can help confirm the location. Press lightly around the damaged spot. If the drywall moves, the panel has lost its grip on the framing and needs to be secured before it is patched.
Drive one drywall screw about 1 to 2 inches above the pop and a second screw 1 to 2 inches below it. On a ceiling, install screws on opposite sides of the pop along the framing member. The screw heads should sit just below the drywall surface without tearing the paper face. An overdriven screw damages the gypsum and will not hold properly, so back it out and place another screw nearby if that happens.
Once the new screws hold the panel tight, use a hammer and nail set to tap the popped nail slightly below the surface. Do not simply hammer the nail back in and call the job done. It can work loose again because the original holding point has already failed. If the nail is protruding substantially or will not set cleanly, remove it carefully after the new screws are installed.
Remove Loose Compound and Fill the Damage
Use a utility knife or the edge of a drywall knife to scrape away loose joint compound and any cracked paint around the pop. You want a stable edge, not a patch built over material that is already separating from the wall.
Apply a thin first coat of joint compound over the screw dimples and the original nail area. Feather the compound several inches beyond the repair. Thin coats dry more evenly and shrink less than one thick application.
After the first coat is dry, sand only enough to remove ridges. Apply a wider second coat, extending the edge farther into the surrounding wall. A third skim coat may be needed for a very smooth wall or when the repair is in direct light. The goal is a gradual transition that disappears once primed and painted.
Match the Existing Wall Texture
Texture matching is where many otherwise solid repairs become visible. Smooth drywall is the simplest finish to blend, but even smooth walls can show sanding scratches or a shallow patch under satin and semi-gloss paint.
For orange peel texture, practice on cardboard first. Apply texture lightly, allow it to set, and compare it to the surrounding wall before spraying the repair. Knockdown finishes require timing: the sprayed texture needs to firm up slightly before it is gently flattened with a broad knife. Heavy hand textures, skip trowel, and older plaster-like finishes often need a more tailored approach.
If the wall has several old patches, touchups, or varied texture from prior repairs, repainting the entire wall is often the better choice. Spot painting can leave a different sheen even when the paint color is correct.
Prime Before You Paint
Joint compound is porous and can absorb paint differently than the existing wall. Apply a drywall primer to the repaired area after sanding and dust removal. This prevents flashing – the dull or shiny patch that becomes visible after the finish coat dries.
For the cleanest result, use the same paint color and sheen already on the wall. Flat paint hides minor imperfections best, while eggshell, satin, and semi-gloss reflect more light and make surface variation easier to see. In a high-visibility room, paint from corner to corner rather than trying to blend a small spot into an older finish.
Common Nail Pop Repair Mistakes
The most common mistake is filling the bump without adding screws nearby. The wall may look repaired, but the drywall is still free to move. Another frequent issue is using the wrong screw type. Fine-thread screws are intended for metal studs; coarse-thread drywall screws grip wood framing better.
Homeowners also run into trouble by applying compound too heavily, sanding through the drywall paper, or skipping primer. Each shortcut can leave a patch that shows through the final paint. A repair can be structurally sound and still look noticeable if its texture, sheen, or feathered edges do not match the rest of the surface.
Ceiling repairs require extra care. They are more visible under overhead lighting, and sagging drywall may need more than two screws. If a ceiling area feels soft, stained, or noticeably bowed, check for an active roof, plumbing, or attic moisture issue before repairing the finish.
When Nail Pops May Signal a Bigger Problem
Call for an inspection when nail pops keep returning in the same area after a proper repair, appear in large numbers, or come with wider cracks. Watch for diagonal cracks near doors and windows, doors that suddenly stick, uneven floors, water stains, or drywall that separates from trim. Those conditions can point to moisture damage, framing movement, or settlement that should be evaluated before cosmetic repairs begin.
A professional drywall repair is also worth considering when the damage is in a tall stairwell, on a textured ceiling, or in a room that needs painting anyway. Combining drywall repair and painting creates a more consistent finish and avoids the frustration of trying to match aged paint one small patch at a time.
For homeowners preparing to sell, small wall defects can attract attention during showings even when they are minor. Clean, properly blended repairs help a home feel maintained and ready for its next owner.
A nail pop does not always mean something is seriously wrong with your house. It does mean the drywall needs to be secured before it is made pretty. Fix the movement first, take time with the finish work, and the repaired wall should look like it was never damaged.