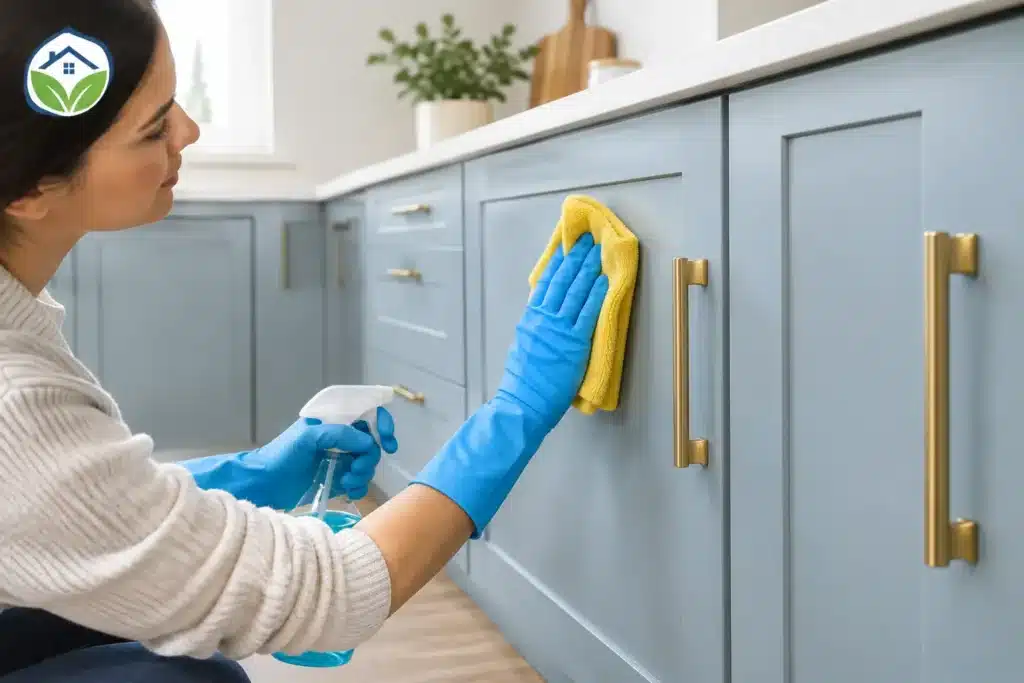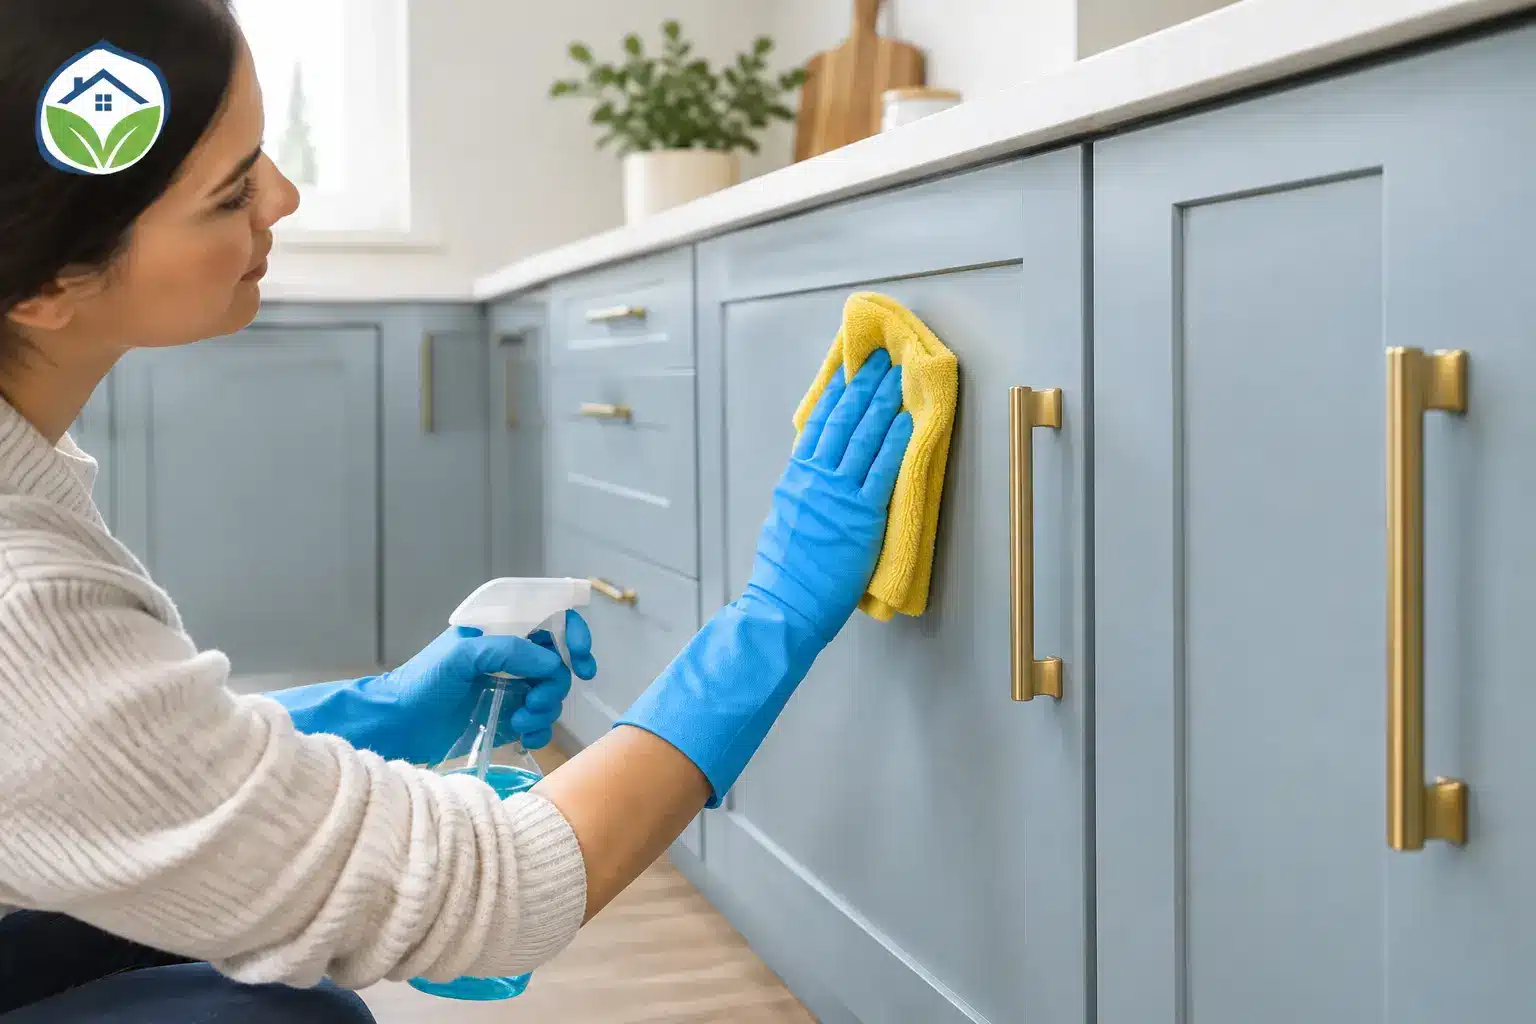

Kitchen cabinets tend to show real life first: fingerprints around the pulls, cooking grease near the range, and a faint film that makes a once-crisp paint color look tired. Knowing how to clean painted cabinets properly protects the finish you paid for while keeping the kitchen looking cared for between deeper maintenance or refinishing projects.
Painted cabinets are not difficult to maintain, but they do require a lighter touch than stained wood or laminate. The goal is to lift soil without softening, scratching, dulling, or discoloring the paint. That is especially true for professionally sprayed cabinet finishes, where the smooth surface is part of what gives the room a clean, updated look.
Start With the Right Cleaning Supplies
For routine cleaning, you do not need a cabinet full of specialty products. A few gentle supplies will handle most dirt and grease:
- Two soft microfiber cloths, one for washing and one for drying
- A bowl or bucket of warm water
- A small amount of mild dish soap
- A soft sponge or soft-bristle toothbrush for detailed areas
- A clean, dry towel for final drying
Mix only a few drops of dish soap into warm water. The water should feel comfortably warm, not hot. Hot water and heavy scrubbing can be harder on paint, particularly on older cabinets or finishes that have not fully cured.
Avoid abrasive scrub pads, powdered cleaners, stiff brushes, and magic-eraser-style sponges unless a cabinet professional specifically recommends them for your finish. These products can cut through grease, but they can also burnish the sheen or leave dull spots that become noticeable when light hits the doors.
How to Clean Painted Cabinets Step by Step
Before cleaning every cabinet, test your solution on a small, low-visibility spot, such as the inside edge of a door. This is a practical safeguard for older paint, touch-up areas, and cabinets with an unknown coating.
Remove loose dust first
Start with a dry microfiber cloth. Wipe door fronts, drawer faces, frame edges, and upper ledges to remove dust and crumbs. Skipping this step can turn dry grit into a light abrasive once moisture is added.
Pay attention to the top edges of upper cabinets. In many kitchens, this is where airborne grease and dust settle together. A dry wipe first makes the wet-cleaning step more effective.
Use a damp cloth, not a soaking-wet one
Dip a microfiber cloth in the mild soap solution, then wring it out thoroughly. The cloth should be damp enough to clean but not wet enough to drip. Excess water can work its way into joints, seams, unfinished edges, and around hardware.
Wipe one small section at a time using gentle, overlapping strokes. On cabinet doors, work from top to bottom so any moisture is controlled instead of running into corners. There is no benefit to letting soapy water sit on painted cabinetry.
For light everyday marks, this may be all you need. Follow immediately with a second microfiber cloth dampened with plain water to remove soap residue, then dry the area with a clean towel.
Treat grease carefully near the range
Cabinets beside and above a cooktop often need more than a quick wipe. Grease can build into a sticky film that attracts dust and makes white or light-colored cabinets look yellowed or gray.
Use your mild soap solution first, refreshing the cloth as it picks up grease. If the film remains, use a slightly stronger mix of warm water and dish soap rather than reaching immediately for a harsh degreaser. Work in small areas, wipe with a clean damp cloth, and dry completely.
It depends on the finish and the product history of the cabinets, but aggressive degreasers can leave streaks, soften certain coatings, or change the sheen. If a cabinet surface still feels tacky after gentle cleaning, it is better to get advice before trying solvents or industrial cleaners.
Clean grooves, corners, and hardware separately
Painted shaker cabinets, routed profiles, and decorative trim collect grime in their corners. Use a soft toothbrush or a folded microfiber cloth to work gently along those details. Do not dig at buildup with a knife, scraper, or fingernail. Those small scratches can expose the surface and create a future touch-up issue.
For pulls and knobs, clean with a lightly damp cloth, taking care not to flood the screw holes or the joint where hardware meets the door. If hardware is heavily tarnished or sticky, remove it only if you are comfortable reinstalling it correctly. Otherwise, clean around it carefully.
What Not to Use on Painted Cabinets
The wrong cleaner can do more lasting harm than a few fingerprints. Skip ammonia-based glass cleaners, bleach, acetone, nail polish remover, furniture polish, waxes, and solvent-heavy degreasers. These may seem like fast solutions, but they can alter the finish, leave residue, or interfere with future paint touch-ups.
Vinegar is another common recommendation that deserves some caution. Diluted vinegar can be useful for certain household surfaces, but it is acidic. It is not the first choice for routine painted cabinet cleaning, especially if you do not know whether the cabinets were painted with a water-based enamel, lacquer, conversion varnish, or another coating system. Mild soap and water are usually safer.
Also avoid spraying any cleaner directly onto cabinet doors. Spray can settle in seams, migrate behind hardware, and leave drips. Apply your cleaning solution to the cloth instead, then control exactly where the moisture goes.
How Often Should You Clean Painted Cabinets?
A quick wipe of handles, drawer pulls, and cabinets near the range once a week prevents buildup from becoming a project. A more complete cleaning every month or two works well for most active kitchens. Families who cook frequently, use frying oils, or have young children may need to clean high-touch areas more often.
The best schedule is the one that keeps grease from hardening. Once grease has baked onto a cabinet finish, homeowners are more likely to scrub harder or use a stronger product than the paint can safely handle.
For homes being prepared for sale, a thorough cabinet cleaning can make a noticeable difference before listing photos and showings. Clean doors reflect light more evenly, show the cabinet color accurately, and help the kitchen read as maintained rather than overdue for work.
Protect the Finish Between Cleanings
Good habits reduce how often you need deep cleaning. Run the range hood while cooking, especially when sautéing or frying. Wipe splatters as soon as the cabinets are cool enough to touch. Use handles rather than grabbing the door edge whenever possible, since skin oils are a major source of darkened spots around cabinet corners.
Watch for water at the sink base cabinet as well. Repeated moisture from a small plumbing leak, wet dish towels, or an overflowing sink can swell wood or MDF components and cause paint to crack at edges. Cleaning will not solve that issue. The source of moisture needs to be corrected before cosmetic repairs will last.
When Cleaning Is Not Enough
Sometimes cabinets look dirty because the finish itself is worn. Yellowing, widespread dullness, peeling near handles, chipped corners, and paint that feels soft or sticky after proper cleaning are signs that the coating may need more than maintenance.
A professional cabinet painting or refinishing evaluation can help separate a cleaning problem from a finish problem. The right recommendation depends on the existing cabinet material, the current coating, how much damage is present, and whether you want to keep the same color or update the kitchen altogether. A careful prep process, durable cabinet-grade coatings, and proper cure time matter far more than a quick coat of paint.
For homeowners across the Denver metro, Majestic Painting Company can assess cabinet condition, explain practical repair or refinishing options, and provide a clear written scope before work begins. Until then, gentle cleaning and prompt attention to grease or moisture will help preserve the painted finish you already have.