
A fresh paint color can make a room feel new, but the finish only looks as good as the surface underneath it. Knowing how to prepare walls for painting helps prevent peeling, flashing, rough patches, and those frustrating spots that show through after the paint dries. The prep work takes time, but it is where a professional-looking result begins.
For Denver-area homes, preparation can be especially important. Dry indoor air, shifting foundations, hail damage, intense sunlight, and freeze-thaw cycles can leave behind hairline drywall cracks, failed caulk, fading, and exterior surface damage. Paint can improve the appearance of those issues, but it cannot correct the cause. Repairing and preparing the surface first protects your investment and gives the new coating a fair chance to last.
Start by Inspecting the Walls in Good Light
Before moving furniture or opening a paint can, inspect every wall in daylight or under a bright work light. Look at the surface from different angles. Small dents, nail holes, roller ridges, drywall seams, water stains, and patches of loose paint are easier to spot before a new color goes on.
Inside, pay close attention to high-touch areas near doors, light switches, hallways, and kitchen workspaces. Grease, hand oils, hairspray, and cleaning-product residue can interfere with adhesion even when the wall appears clean. In bathrooms, look for mildew, bubbling paint, or soft drywall near showers and windows. Those may point to a moisture issue that needs to be addressed before repainting.
Outside, inspect trim, siding, fascia, doors, and window areas for cracked caulk, exposed wood, peeling paint, and rot. Paint is not a substitute for sound building materials. If trim is soft, siding is damaged, or gutters are overflowing onto the wall, make those repairs first. Otherwise, the same issue can quickly damage the new finish.
Clear and Protect the Work Area
A clean, organized workspace makes preparation more efficient and reduces accidental damage. Move furniture away from the walls, remove wall décor, and take off switch plates, outlet covers, and curtain hardware when practical. Cover floors and remaining furniture with clean drop cloths rather than thin plastic alone, which can shift underfoot.
Use painter’s tape selectively. It is useful for protecting adjacent surfaces, but it will not fix sloppy cutting-in or poor surface conditions. Apply it to clean, dry edges and remove it before the paint fully cures to reduce the chance of pulling up the fresh coating.
For exterior projects, protect landscaping, windows, light fixtures, patios, and vehicles. If power washing or scraping is involved, account for weather and allow enough drying time before painting. A surface that feels dry may still hold moisture in cracks, joints, or porous materials.
Clean Before You Repair and Paint
Dust and residue are common reasons paint fails to bond properly. For most interior walls, start by removing dust with a vacuum brush attachment, microfiber cloth, or dry mop. Then wash the walls with a mild cleaner and water, focusing on kitchens, bathrooms, laundry rooms, entryways, and areas around vents.
Do not soak drywall. Use a damp sponge or cloth, rinse frequently, and allow the wall to dry completely. For greasy kitchen surfaces, a degreasing cleaner may be necessary. Mildew should be treated with an appropriate cleaner, followed by a full rinse and dry time. If mildew keeps returning, address ventilation or water intrusion before painting.
Exterior cleaning is more involved. Dirt, chalking paint, pollen, mildew, and loose debris must come off so primer and paint can adhere. Power washing is often effective, but too much pressure can damage wood, force water behind siding, or scar softer materials. The right approach depends on the surface condition, age, and material.
Repair Imperfections for a Smooth Surface
Once the walls are clean and dry, repair the defects you found during inspection. Small nail holes and shallow dents can usually be filled with lightweight spackle. Slightly larger dings or shallow cracks may need joint compound. Apply thin coats rather than one thick layer, because thick filler shrinks, dries unevenly, and takes longer to sand.
For drywall cracks, the repair method depends on why the crack formed. A hairline crack that has not moved may be filled and sanded. Cracks along drywall seams often need tape and joint compound to create a stable repair. Repeated cracking, water damage, or a sagging ceiling can signal a larger issue that should be evaluated before cosmetic work begins.
Water-stained drywall deserves extra attention. The source of the leak must be corrected first. Once the area is fully dry and repaired, use a stain-blocking primer so the discoloration does not bleed through the new paint. Skipping this step can turn a simple repaint into a second round of work.
On exterior woodwork, scrape away paint that is loose, lifting, or flaking. Sand rough edges where intact paint meets bare wood so the transition is less visible after painting. Replace rotted trim or siding instead of trying to fill over it. Caulk gaps at trim joints, windows, doors, and penetrations with a flexible exterior-grade product, but do not caulk areas designed to drain water.
Sand, Then Remove the Dust Again
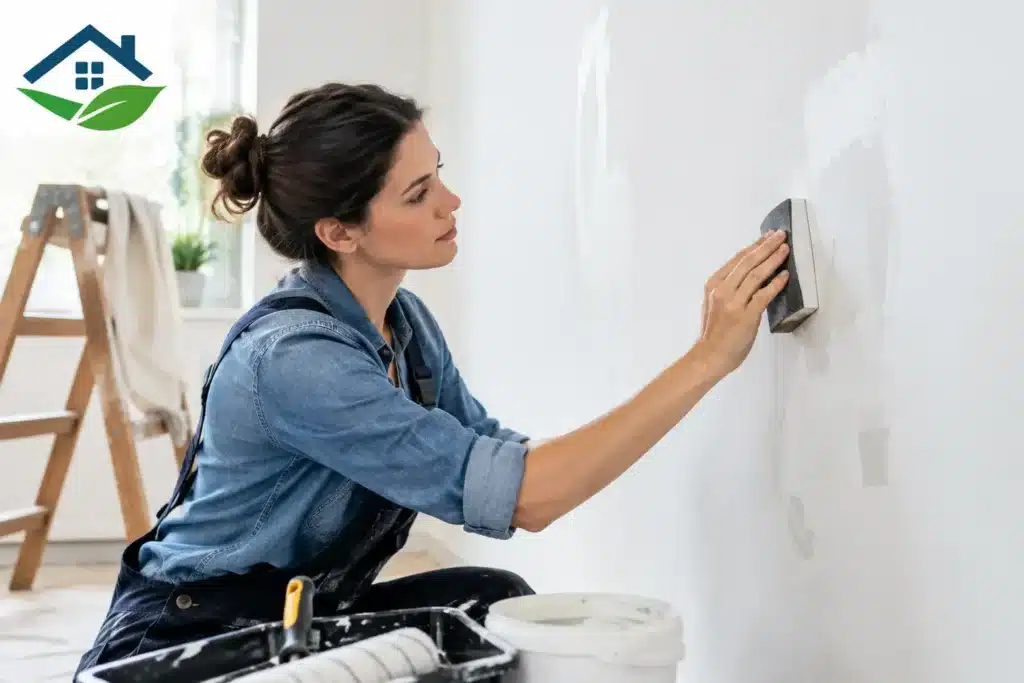
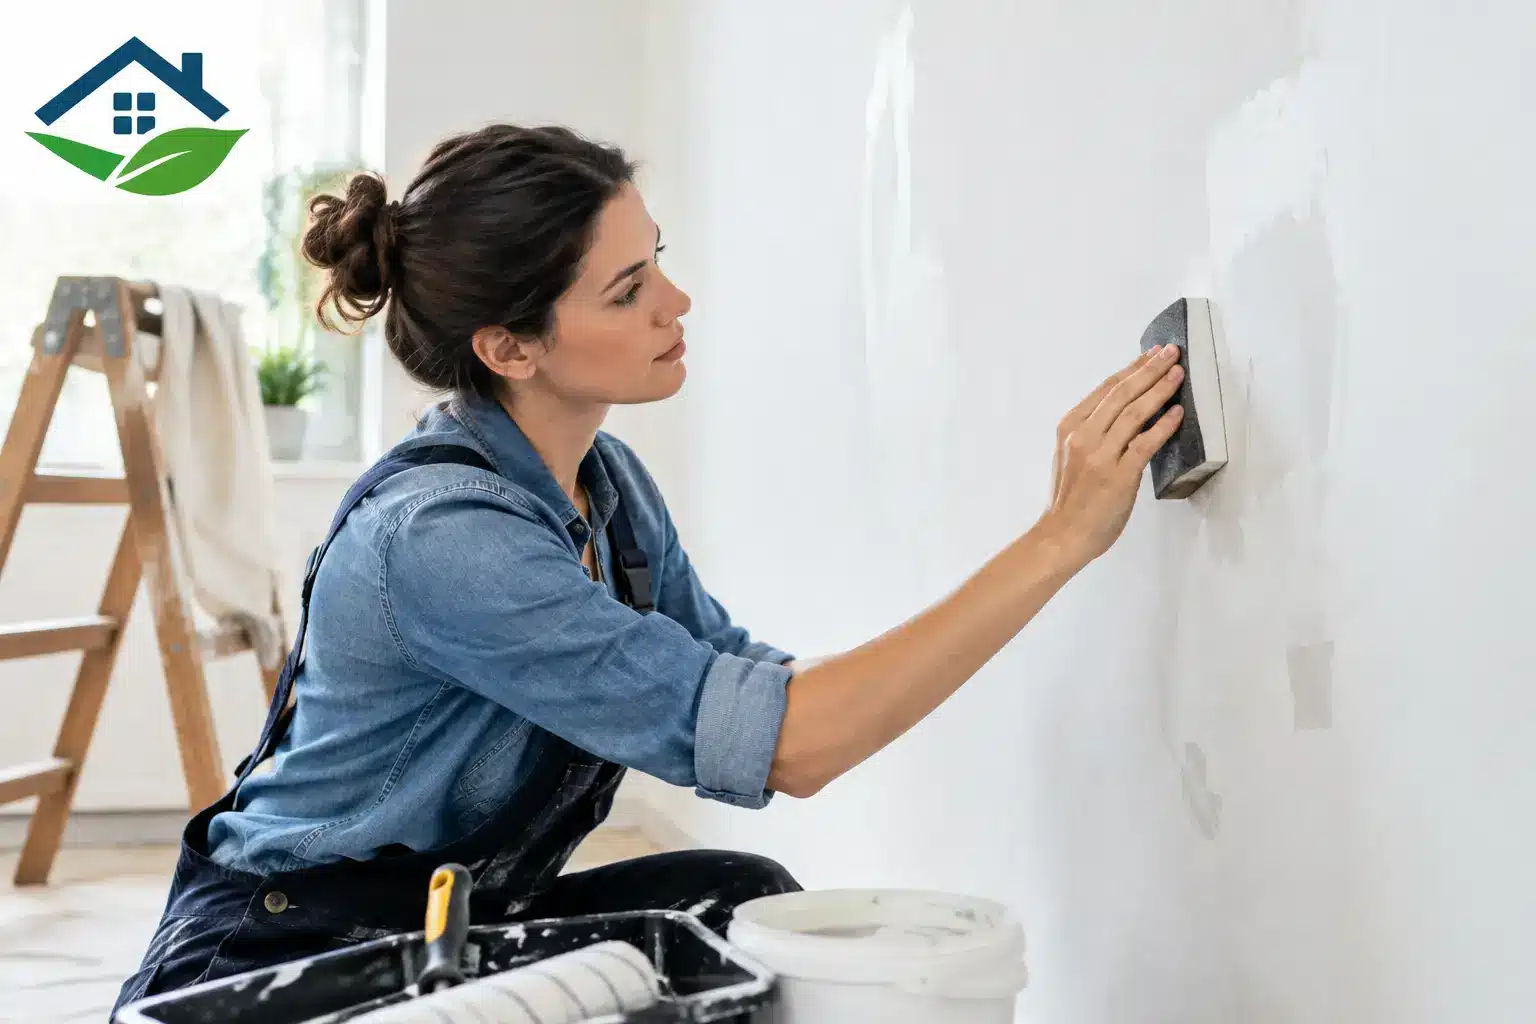
Sanding does two jobs: it smooths repairs and gives glossy or previously painted surfaces enough tooth for the next coat to bond. For many interior walls, a fine-grit sanding sponge is all that is needed. Sand repaired spots until they feel level with the surrounding wall, then lightly feather the edges.
If the existing paint has a glossy finish, such as semi-gloss on trim or satin paint in a kitchen, scuff sanding is usually worthwhile. You do not need to remove every bit of the old coating. The goal is a uniformly dull, clean surface that is ready for primer or paint.
After sanding, remove all dust. Vacuum the walls, wipe them with a microfiber cloth, and clean nearby horizontal surfaces where dust can settle. This step is easy to rush, but leftover sanding dust can leave paint feeling gritty or create weak adhesion around repair areas.
Prime Where the Surface Calls for It
Primer is not automatically required on every repaint, but it is the right choice in several common situations. Use it over new drywall, bare wood, major patches, repaired cracks, water stains, and areas where you are making a dramatic color change. Primer helps create a more uniform surface so the finish coat looks consistent from wall to wall.
Spot priming small repairs can work when you are repainting with a similar color and sheen. However, if there are many repairs or the wall has uneven porosity, priming the entire wall usually produces a more even result. This helps prevent flashing, where patched areas appear shinier or duller than the rest of the wall under certain lighting.
For exterior surfaces, use primers matched to the substrate. Bare wood, metal, masonry, and weathered siding do not all need the same product. Product selection matters as much as application, especially along the Front Range where high UV exposure and weather swings put coatings under added stress.
Check Conditions Before You Paint
Even perfectly prepared walls can have problems if paint is applied in poor conditions. Interior surfaces should be dry, clean, and within the paint manufacturer’s temperature range. Give fresh patching compound, caulk, primer, and cleaning moisture enough time to dry. Rushing this stage can trap moisture under the coating.
For exterior painting, temperature, sun exposure, wind, and incoming weather all matter. Very hot siding can cause paint to dry too quickly, while cold temperatures can interfere with proper curing. A dependable contractor plans the schedule around the product requirements and the forecast rather than simply painting because the calendar says it is time.
Know When Professional Prep Is Worth It
Many homeowners can handle basic cleaning, small holes, and light sanding. The project changes when walls have extensive damage, recurring cracks, heavy texture, water stains, mold concerns, peeling exterior paint, or rotted trim. Those issues can require drywall repair, texture matching, carpentry, gutter correction, or specialized primers before the finish coats begin.
Majestic Painting Company approaches prep as part of the painting job, not an add-on to rush through. During an on-site walkthrough, the team can identify repairs, explain the options, and provide a written estimate that separates the prep work, products, and paint application. That makes it easier to decide what needs attention now and what can wait.
A well-prepared wall does not call attention to itself. It lets the color, sheen, and clean lines do their job for years to come. If the surface needs more than a quick patch, taking care of it before painting is usually the simpler and less expensive decision in the long run.