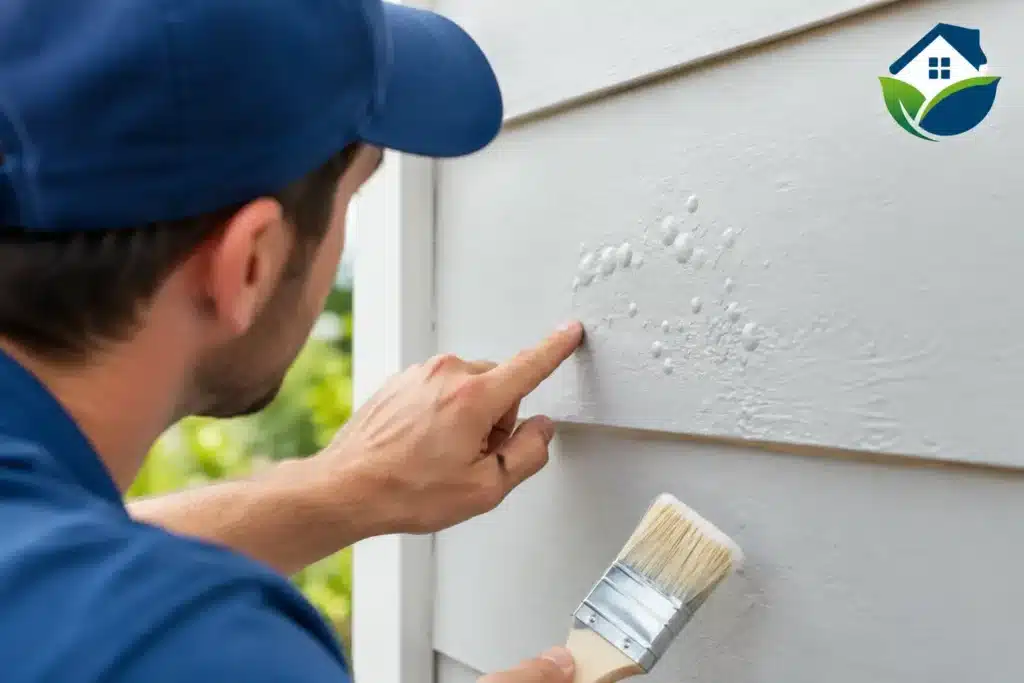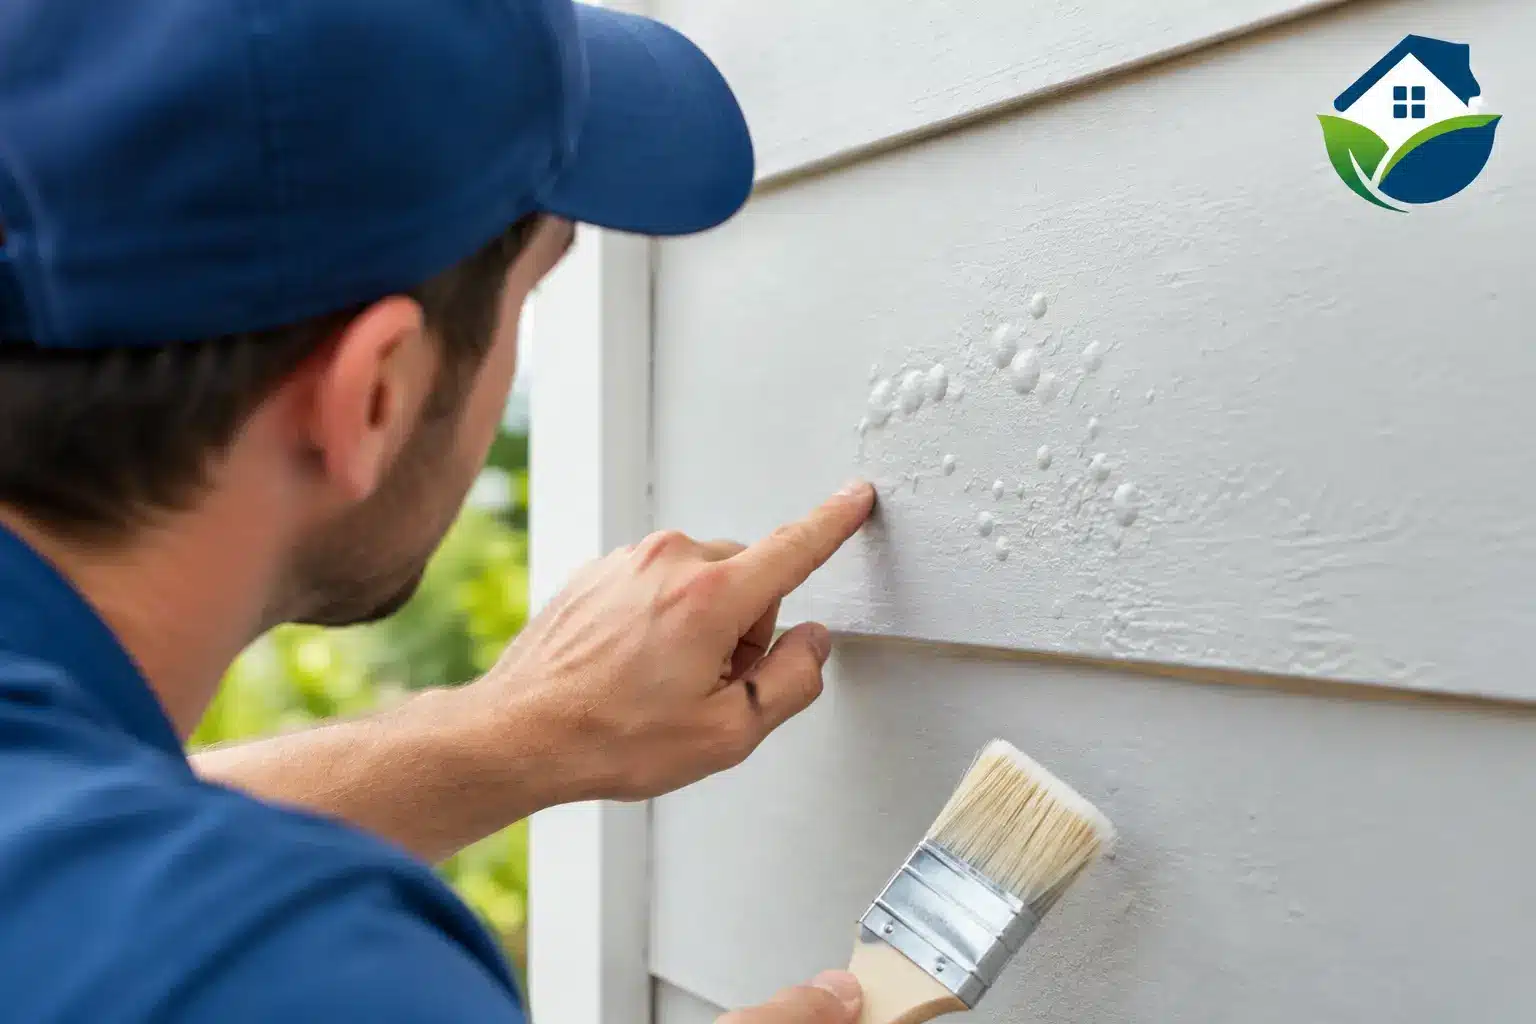

A raised blister on siding or trim may look like a small cosmetic problem, but it is often a warning that something underneath the paint needs attention. If you are asking, “why does paint bubble outside,” the short answer is that paint has lost its bond with the surface – usually because of moisture, heat, poor preparation, or a coating applied under the wrong conditions. The right repair starts with finding the cause, not simply painting over the bubble.
In the Denver metro area, exterior surfaces deal with intense sun, sudden temperature changes, hail, snow, and dry conditions that can hide moisture problems until the paint begins to fail. A careful inspection can help determine whether the issue is limited to one area or points to a larger siding, trim, gutter, or ventilation concern.
Why Does Paint Bubble Outside?
Exterior paint bubbles when part of the paint film lifts away from the surface beneath it. Sometimes the bubble contains air; more often, it contains or was caused by water vapor. As that moisture moves, expands, or tries to escape, it pushes against the paint. Eventually, the blister may break open, exposing bare wood, stucco, or siding to further weathering.
Not every bubble has the same cause. Location provides useful clues. Blistering near rooflines, windows, gutters, and fascia often suggests water intrusion. Bubbles across a broad, sun-facing wall can point to heat or application conditions. Failure that occurs soon after a new paint job may indicate preparation or coating-compatibility problems.
Moisture behind the paint
Moisture is the most common reason exterior paint blisters. Water can get behind paint through cracked caulk, failed flashing, leaking gutters, roof issues, open joints, damaged siding, or gaps around windows and doors. It can also come from inside the building when humid air moves through poorly ventilated walls.
Wood is especially vulnerable. When bare or insufficiently sealed wood absorbs water, it swells. The paint film cannot stretch indefinitely, so it releases from the wood and forms bubbles, peeling edges, or flakes. If the area feels soft, looks dark after rain, or has visible wood rot, paint repair alone will not hold up. The damaged material should be repaired or replaced first.
Moisture problems are not always dramatic leaks. A gutter that overflows during heavy rain can repeatedly soak fascia and trim. A small break in a caulk line can direct water behind a board for months. That is why a professional exterior evaluation looks beyond the paint itself.
Painting in direct heat or changing weather
Colorado sunshine can heat an exterior wall far above the air temperature. When paint is applied to a hot surface, the top layer may dry too quickly while solvents or moisture below are still trying to escape. That can create small blisters, especially on darker colors and south- or west-facing elevations.
Painting too late in the day can create a different problem. As temperatures drop overnight, dew can settle on a surface before the coating has cured. Rain, frost, or even heavy morning moisture can interfere with adhesion. Paint manufacturers set temperature and humidity ranges for a reason, and surface temperature matters just as much as the temperature shown on a weather app.
This does not mean exterior painting must wait for a perfect week. It means the crew should plan around the exposure, forecast, cure time, and product being used. A wall in the shade may be ready when a sun-baked wall is not.
Poor surface preparation
Paint needs a clean, sound surface to adhere properly. Dirt, chalking residue, mildew, loose old paint, and sanding dust can all leave a barrier between the new coating and the substrate. If the surface was power washed but not given enough time to dry, trapped moisture can cause the same result.
Preparation is especially important on older homes where previous paint layers may already be failing. Applying fresh paint over loose or peeling material only hides the problem temporarily. As the weak layer releases, the new paint releases with it.
Proper preparation may include washing, drying, scraping, sanding, spot priming exposed areas, and replacing failed caulk. The exact sequence depends on the surface. Wood trim, fiber-cement siding, stucco, metal, and previously painted masonry each have different requirements.
The wrong primer or incompatible coatings
A coating system works best when its products are compatible. For example, a surface that is stained, chalky, glossy, or patched may need a specific bonding or stain-blocking primer before finish paint is applied. Skipping that step can lead to adhesion failure that resembles bubbling.
Older homes sometimes have unknown layers of paint, and repairs may introduce different materials in the same area. A qualified painter can test the condition of existing coatings and recommend a primer and finish system that fits the surface. The least expensive paint choice is not always the best value if it fails early and requires another round of labor.
How to Tell Whether a Paint Bubble Is Serious
A single small blister on an otherwise solid surface may be a localized application issue. It still deserves repair, but it may not signal widespread damage. Repeated bubbling, peeling, or cracking in the same area is more concerning, particularly around windows, eaves, deck attachments, and roof intersections.
Press gently around the damaged area after it is dry. If the paint feels loose beyond the visible bubble, the failure may be larger than it appears. Look for staining, soft wood, rusted fasteners, mold-like growth, gaps in caulk, or water marks inside nearby rooms. These are signs to investigate the building envelope before repainting.
Do not pop a bubble and immediately touch it up. Opening the paint can expose damp material, and covering it too soon traps the problem again. Give the area time to dry after rain or cleaning, then identify how water or vapor could be reaching it.
The Right Way to Repair Bubbling Exterior Paint
A lasting repair follows the condition of the surface rather than a one-size-fits-all checklist. The basic process is straightforward, but the diagnosis matters.
First, correct the source of moisture or the condition causing the failure. That might mean repairing a gutter, resealing a window joint, replacing rotted trim, improving drainage, or addressing a roof or flashing issue. If there is no water issue, review whether heat, inadequate preparation, or an unsuitable coating likely caused the blistering.
Next, remove all loose paint. Scrape back to firmly bonded edges, then sand the transition so the repaired area does not show through the new finish. Any bare wood should be allowed to dry fully and then primed with the appropriate exterior primer. On certain surfaces, a full coat of primer may be the better recommendation rather than spot priming alone.
After priming and curing, apply quality exterior paint in the right weather window. Follow the product’s spread rate and recoat time instead of trying to make one heavy coat do all the work. Two properly applied coats usually provide more even coverage and longer protection than one thick coat.
For a small, accessible spot on sound siding, a homeowner may be able to handle the repair. The trade-off is that it can be difficult to match texture, sheen, and color after weathering. If bubbling affects several elevations, keeps returning, involves high trim, or comes with suspected rot, professional assessment is usually the safer and more cost-effective path.
Preventing Exterior Paint Bubbles in the Future
Preventive maintenance often protects a paint job more than adding another coat. Keep gutters clear and positioned to drain away from the house. Check caulk around windows, doors, trim joints, and penetrations each year, especially after severe weather. Trim back vegetation that holds moisture against siding, and watch for sprinkler overspray that repeatedly wets lower walls.
Exterior paint also benefits from early touchups. A small crack in caulk or a chip at the edge of a board is easier to address before water reaches the substrate. When planning a full repaint, ask for a clear scope that identifies repairs, preparation, primer needs, paint products, and weather planning. Those details help set realistic expectations for durability.
For homeowners who are unsure whether bubbling is cosmetic or a sign of moisture damage, a walkthrough can provide clarity before the problem spreads. Majestic Painting can assess the affected surfaces, explain practical repair options, and coordinate painting with needed trim, siding, gutter, or drywall-related work. A sound exterior paint job is not just a fresh color – it is a protective system that deserves the right foundation.